Author: Cory Perkins

Roof Repair – Avoid Costly Mistakes

A well-maintained roof is a vital part of your house. But even the most durable shingles and tiles aren’t infallible, and it’s not uncommon for high winds or falling debris to damage them.

Roof Repair

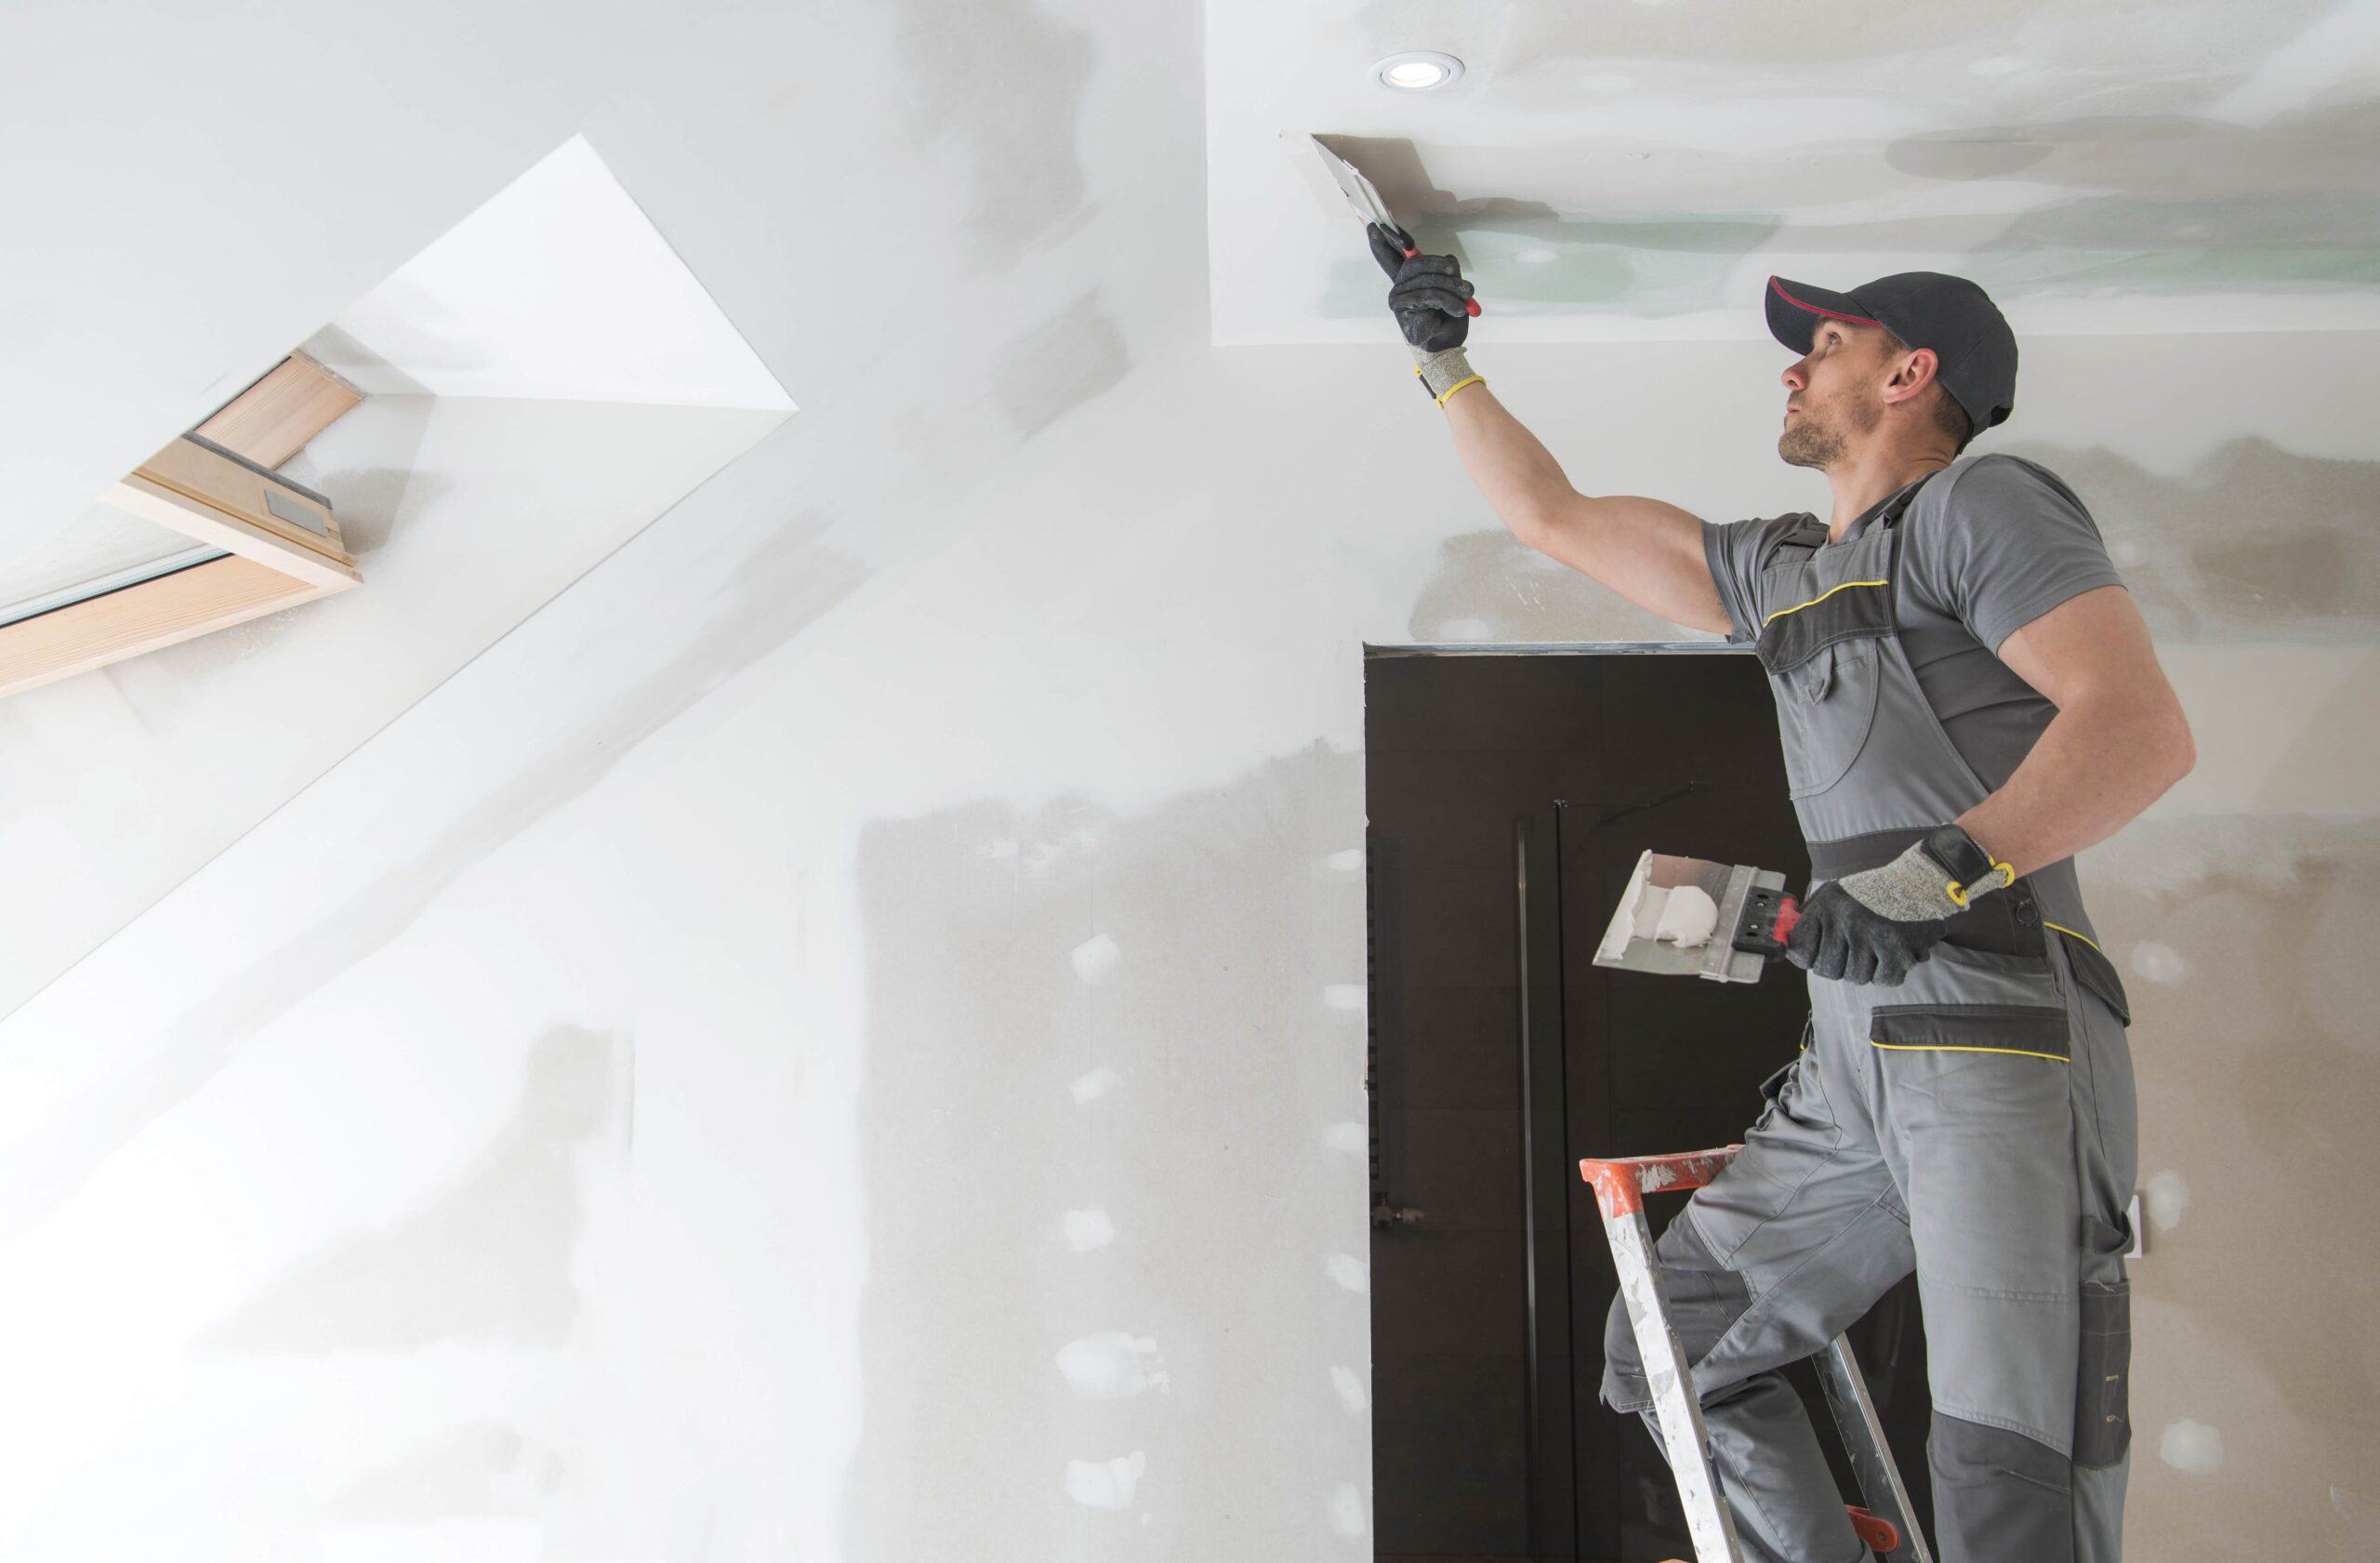
The first step in repairing a leaky roof is to examine it carefully. This requires accessing the attic or crawl space, and removing cedar, Hardi-plank, or vinyl siding as needed to get to the flashing. Visit https://www.roofingkalispellmt.com/ for more information.

Roofing specialists are equipped with the right tools and materials to complete the repairs as efficiently as possible. This is a huge benefit as it allows them to finish the job in a shorter time span than do-it-yourselfers can. The roof repair specialist also has the safety gear and niche expertise needed to avoid accidents on the job, which means you get to rest easy knowing that your home is in good hands.

Whether it’s a moss infestation, cracking tiles or leaking gutters, a professional can address these issues before they worsen. This is especially important as a damaged roof can lead to serious structural problems down the road. Think of it as a small dent in your windshield: if left unattended, that dent could swell into a crack that needs to be replaced with a new windshield.

Additionally, a well-maintained roof is an excellent energy-saving tool. Leaks and other problems allow conditioned air to escape and outside air to infiltrate, which increases your energy consumption. By addressing these issues promptly, you can lower your utility bills and help the environment by decreasing energy waste.

Avoiding Mistakes

Your roof is an essential aspect of your home that protects you and everything underneath it. But, like any component of your house, it is susceptible to damage and requires regular maintenance and repair work. However, some property owners make mistakes when it comes to roof repair that can lead to costly complications.

Some of these mistakes include ignoring minor damages, delaying repairs, trying DIY fixes, and using the wrong materials. The good news is that you can avoid these common roofing mistakes by avoiding procrastination, prioritizing quality, and relying on professional expertise.

One of the biggest mistakes that homeowners often make when repairing their roof is failing to get necessary permits and adherence to local and homeowner’s association regulations. This is a crucial step that can halt your entire project and even result in fines.

Another mistake homeowners make is using subpar or low-quality materials for their roof repair. The use of these lower-quality materials can significantly reduce the lifespan of your roof and may cause further damage to your existing shingles or other components of the structure.

Lastly, many homeowners overlook the importance of doing regular inspections of their roof. These inspections can help identify hidden problems that might become a significant problem later on, such as a bad seal around skylights or improper flashing.

Choosing the right contractor for your roof repair is vital to ensure that your repairs are done properly and efficiently. The right roofer will have the necessary skills, experience, and tools to handle your specific roof repair. In addition, they will also be able to provide you with a warranty that covers any issues or mistakes that might arise during the repair process. Moreover, they will be able to advise you on the best materials and other solutions to ensure that your roof is well-protected for a long time. This will help you save money in the long run as you will not have to deal with costly repairs or replacements.

Getting Things Done Quickly

No matter what kind of roof repair you need, there are a few things you need to keep in mind. First, find the problem area. You can do this either visually or with a hose. Visually, look for shingles that are curled up or missing altogether, sagging in certain places, moss growth, and damp spots inside the house. If you have a leak, a good way to find it is to get up in the attic or crawlspace and use a hose to soak the roof, starting at the area where the water is manifesting itself indoors. Then, move up a little bit and repeat.

If you need to do this, make sure the hose isn’t running during the rainy season or in a thunderstorm. It might be tempting to save a little time and get it done when conditions are bad, but you’re likely to end up spending more in the long run by doing so. And if you’re dealing with a major issue, such as a roof replacement, doing it in poor weather can lead to more expensive repairs and damages down the line.

Once you’ve found the problem area, it’s time to start getting things fixed. For a simple leak, it’s usually just a case of replacing the leaking shingle or piece of flashing. Nails and sealant are typically used to fix flashing, so you should try to match what was already there (unless it’s completely damaged). If possible, simply nail it in place using the same type of nails as before. Otherwise, you can use roof cement to encase the piece of flashing instead.

More complex problems can be trickier to diagnose, but you can try to spot them by regularly inspecting your roof. This will help you catch problems as they are developing, rather than waiting until the damage becomes more severe and leads to other issues, such as rotting rafters or joists, and structural damage to your home. The best way to prevent these types of issues is through regular maintenance and inspections, which should be done both after a storm and annually for build-ups and general wear and tear.

Avoiding Further Damage

Regardless of whether you’re looking at roof repair or replacement, acting quickly to address damage and avoid further problems can save time, money, and hassle in the long run. In many cases, simply covering up a damaged area or taking other quick action will prevent further damage until you can schedule professional repairs.

You can also take steps to avoid further damage by regularly inspecting your roof and addressing minor issues right away. This can help you avoid a major roof repair in the future, and also ensure that your home is protected from water damage, mold growth, and other serious problems.

For instance, if you notice wet spots in the attic or ceiling, dark streaks on walls and ceilings, or musty odors, these are all signs of a roof leak. Replacing or fixing the flashing (the thin sheet metal that lines roof penetrations and valleys for extra waterproofing) can help prevent leaking in these areas. In addition, repairing or replacing broken or missing shingles can be a cheap and easy way to fix these issues.

Another thing you can do to prevent further damage is to keep trees and shrubs trimmed. This can minimize the chance of branches falling onto your roof during a storm. And, of course, it’s important to have your roof inspected after any severe weather like thunderstorms or hailstorms.

In the end, it’s also worth pointing out that roofing professionals can provide advice on when it is best to replace your roof rather than just make repairs. This is because if your roof has reached the end of its lifespan, then it may be time to consider a replacement. For example, basic three-tab shingles typically need to be replaced after 10 or 15 years, while premium architectural shingles can last up to 30 years.

Keeping your roof in good condition can help you save money on your energy bills and improve the overall comfort of your home or commercial building. For example, a leaky roof can allow conditioned air to escape and outside air to infiltrate, which can cause your HVAC system to work overtime. Repairing or insulating your roof can help reduce these energy losses, saving you money and helping to protect the environment.

Bring Your New Home To Life With These Drywall Tips

Drywall Tips

Drywall is the most common wall covering material in homes. It’s made from gypsum, which is mixed with additives to create a slurry that is sandwiched between two layers of paper and then dried.

You’ll need a couple of drywall knives (a five inch and a ten inch), a utility knife, and some sanding equipment. You may also want to wear a dust mask.

Tape the Joints

Drywall is a relatively cheap material that allows builders to create rooms much faster than with wood framing. It also offers a smooth surface that’s easy to paint and is perfect for concealing wiring, plumbing or other unsightly elements in a room. Properly taping drywall is a fine art that takes practice to master, but it’s well worth the effort when you want your finished wall to look as flawless as possible.

The first step is to apply a thin layer of drywall joint compound (also called “mud”) over the tape and nails. This mud is a mixture of limestone, emulsifiers, various polymers and water that’s used to cover the joints and nail holes in drywall before it can be sanded to a smooth finish. It typically takes a day or so to dry, but fast-setting mixes are available that take just a few hours to harden.

Use a quality knife, such as Hyde Tools’ 6-Inch Flexible Black & Silver Stainless Steel Joint Knife to apply the mud over each joint. A good knife will distribute the mud evenly and provide you with a smooth, consistent finish. After applying mud to the entire length of a single vertical joint, position a strip of paper tape about two inches shorter than the joint over it. Pull the joint knife smoothly to bed the tape securely in the mud and make sure that it is fully covered. Repeat this process with all vertical joints in the wall.

Next, you will need to spread a thin second coat of mud over the tape and nails. This is important, because it will protect the tape from damage and ensure that any future drywall coatings will adhere to it. Make sure to spread enough mud to completely fill the corner bead pockets; otherwise, air and structural settling may cause these pockets to shrink or depress over time.

Fill the Gaps

When it comes to drywall, the skill required goes beyond brute strength. Finishing a new home or remodeling an existing home with drywall takes finesse and patience. It also requires a few tools like a small and large drywall knife, swivel-head pole sander and premixed joint compound (or “drywall mud”).

Before you start to tape and mud your drywall, be sure that the gap between your floor and wall is not caused by water leaks in your plumbing lines. If it is, you should hire a professional building inspector to inspect the gap and identify its source. It could be a sign of a serious foundation problem and should be corrected as soon as possible to prevent major damage to your home structure.

A few tips to help you make the mud job as smooth as possible:

If the first board doesn’t fit perfectly against the ceiling or wall, trim it to ensure that it fits tightly. However, don’t push the boards together too tightly. Forcing them too closely can cause them to break and crumble.

Use a level to measure where the next piece will be cut. You can either make all your cuts before beginning the project to save time and money, or you can cut each board as you work. The latter method results in less waste, but can take more time.

When constructing your outside corners, be sure to use a special drywall corner bead. This bead creates an outer edge on the corners of your drywall that makes it look more professional and attractive. It can be purchased at most home improvement stores, but it is usually much cheaper if bought online.

Apply the First Coat

Getting the drywall ready for painting or wallpaper requires a little finesse. You’ll need a few tools, including a small and large drywall knife, a swivel head pole sander, and premixed joint compound (or “mud”). The mud is mixed with water and you can add more or less to adjust the consistency.

First, apply a thin coat of mud to the entire wall. Roll the mud onto the surface with a roller, using down and side strokes to create an even coat. Keep in mind, it won’t be perfectly smooth at this point but the first coat should cover any raised surfaces and fill in the seams.

After the first coat, use your drywall knife to cut away the excess. Be careful to avoid cutting into the tape.

Next, apply a second coat. This time, you can apply the mud over the tape but not into the tape. For this coat, apply a thicker layer and be sure to get around all screw heads.

If you’re working on a long stretch of wall, you may want to consider using a bucket and trowel. It saves time and effort but you’ll need to be more careful to not overdo the mud.

It’s best to minimize the number of “butt” joints in your drywall. Long, tapered edges will meet more easily and make a better seal. If you have to have butt joints, apply a thin, generous layer of joint compound to both sides and then press the paper tape over it. This will help the mud adhere to the tape and create a good seam. Be sure to cover all of the tape on the inside and outside corners.

Apply the Second Coat of Mud

As the first coat dries, apply another very thin coat of mud over it. You’ll want to be sure your knife is still wiped clean of excess mud. It’s important that the second coat of mud go right over the tape, not just the wall. This will help keep the tape stuck and allow you to hide any humps under it with the final, very thin layer of mud that comes last.

On inside corners, fold a strip of pre-creased paper tape into place and smooth it in the mud with your 6-inch taping knife or an inside corner taping tool that features a preformed 90-degree shape for easy bedding. Make sure to use light stroking movements so you don’t dislodge the tape. It’s not unusual for the mud swath on butt joints to be 2 feet wide or wider, so don’t worry about it being too thick, just do your best.

You should also repeat the process with the 10-inch knife on screw indentations, beveled joints, and inside and outside corners. Once the mud dries, knock down any ridges with 100-120 grit sandpaper and lightly sand again. This will prepare the surface for painting and will ensure your drywall looks seamless.

Note that it takes a long time for drywall mud to dry, so be patient! The mud will look gray or splotchy when it’s wet, but will be white once it’s completely dry. Be sure to use fans and keep the area warm and dry so it can finish drying. It may take 24 hours or more, depending on geography and humidity. Using a fan to blow air across the surface can speed up the process, but be careful not to force it.

Apply the Final Coat of Mud

Once the first coat of mud is completely dry, apply a final thin layer, called the skim coat, to smooth out the drywall surfaces and fill any remaining gaps. Ideally, the surface should be nearly invisible to the eye. This final coat will prepare the walls for paint or a textured finish.

When applying the skim coat, be sure to keep it away from the seams. This will help prevent future cracking. Also, be careful not to get the mud too wet. If the mud is too wet, it will take longer to dry and can create unsightly rock-like ridges that are difficult to sand.

To speed up the drying process, use a fan to move air around the room. Avoid using extra heat, however, as it can cause the mud to set too quickly and result in cracked areas down the line.

It’s important to note that not all drywall mud is the same. There are different types of mud available for specific applications, such as all-purpose compound for taping and bedding, topping compound for the final skim coat, and spackling for small patching or repairing divots or holes.

For example, spackling is denser and harder when dry than all-purpose drywall compound, which is why it’s perfect for smaller patching jobs. The same goes for the sanding process: Some types of sanding compounds harden into rock-like ridges that are difficult and time consuming to smooth out, while others easily sand to a smooth finish. Choose an easy-to-sand setting mud to save time and effort in the long run. Topping and finishing mud are also available, which are slightly softer and designed to be more durable than tape-and-bed compound.

Navigation